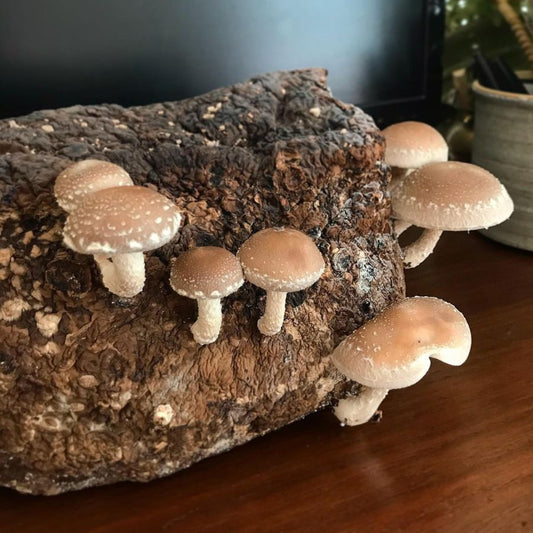
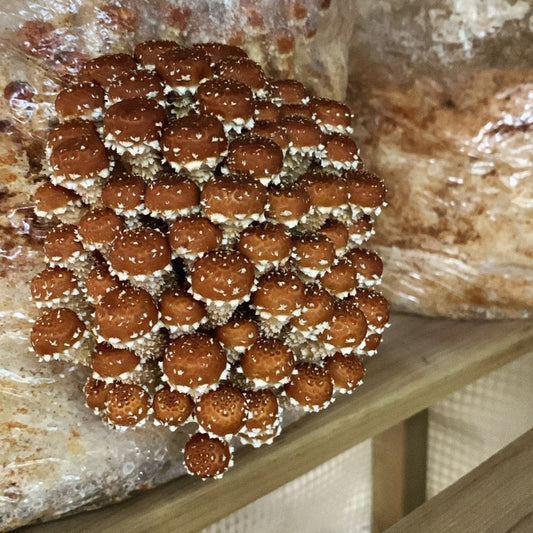
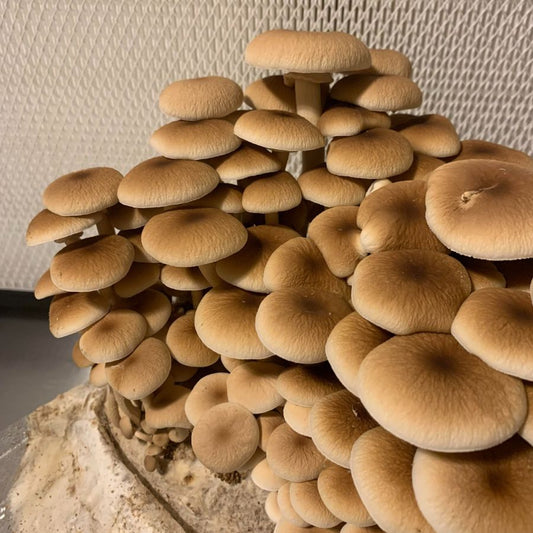
Thank you for purchasing your Blue or White Oyster Mushroom Kit from Folk Fungi! Growing your own fresh, gourmet mushrooms at home has never been easier. Follow these simple steps to start fruiting your kit and enjoying your harvest.
What’s included:
- Fully colonized fruiting block
- Spray bottle
- Humidity tent
This kit can yield 2–3 flushes of mushrooms, totaling 1–2.5 pounds. Once it’s finished producing, the block can be composted or added to your garden to enrich the soil.
Step 1: Prepare your kit
- Cut the block: Use clean scissors or a box cutter to cut a 3–4" 'X' or a diagonal slit on the front of the fruiting block. This will be the fruiting site. Be careful not to cut too deeply into the block.
Step 2: Set up the humidity tent
- Roll the bottom of the tent three times, flatten the gussets, and place it over the block. (View our video demonstration.)
Step 3: Fruiting conditions
- Place your kit in a room that receives indirect sunlight and maintain temperatures between 15–23°C (room temperature).
- Mist the inside of the tent regularly to maintain 80–99% humidity.
- Ensure good air circulation to avoid CO2 buildup.
Pins (baby mushrooms) should appear within 7–14 days. Keep humidity and airflow consistent to encourage healthy growth.
Step 4: Harvest your mushrooms
- Harvest when the caps flatten and darken slightly.
- Gently twist and pull clusters from the block or use a clean knife if needed.
- Store mushrooms in a paper bag in the fridge for up to a week. Avoid plastic bags to prevent spoilage.
Step 5: Subsequent flushes
To encourage another flush:
- Continue misting and maintain humidity.
- Optionally, submerge the block in cold water for several hours, drain thoroughly, and return to fruiting conditions.
For additional tips and troubleshooting, feel free to contact us. Thank you for choosing Folk Fungi to explore the exciting world of mushroom cultivation!


